Building Your Own Private "Second Brain" on Raspberry Pi: A Comprehensive Guide to PKM, Logseq, and Syncthing
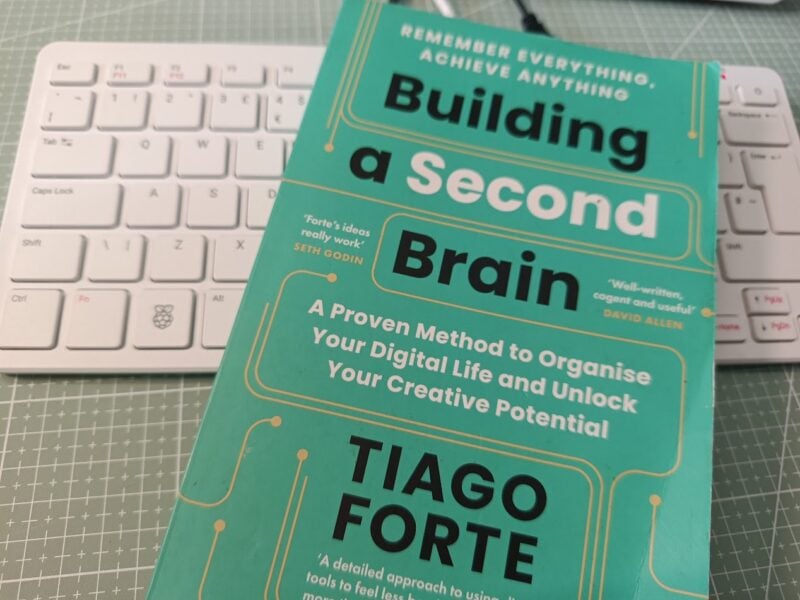
In an era defined by digital saturation, the human mind is constantly bombarded with an unceasing torrent of information. From professional emails and academic research to fleeting creative sparks and day-to-day appointments, retaining everything in organic memory has become an impossible burden. Enter Personal Knowledge Management (PKM)—a philosophy popularized by Tiago Forte in his seminal work, Building a Second Brain. Designed to alleviate cognitive overload, PKM shifts the burden of remembering from our biological minds to a structured, searchable, and external digital repository.
For this edition of Maker Monday, we explore a transformative tutorial featured in the latest issue of the Raspberry Pi Official Magazine. Moving away from proprietary, cloud-dependent commercial apps that compromise user privacy, this guide demonstrates how to construct a robust, secure, and entirely self-hosted "Second Brain" using affordable hardware like the Raspberry Pi 500, open-source software, and peer-to-peer synchronization tools.
Main Facts: Taking Back Control of Your Data
The modern digital ecosystem forces users into a Faustian bargain: convenience in exchange for total data surrender. Most mainstream note-taking applications require user accounts, route personal thoughts through corporate servers, and obscure their underlying code behind proprietary walls.
This DIY alternative flips the script by utilizing two premier open-source projects:
- Logseq: A privacy-first, open-source knowledge management platform that structures notes into dynamic, interconnected "graphs" using Markdown files.
- Syncthing: A decentralized, peer-to-peer continuous file synchronization utility that moves data securely across devices without ever touching a third-party cloud server.
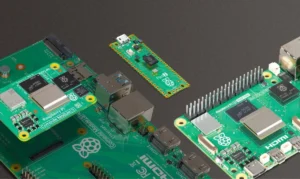
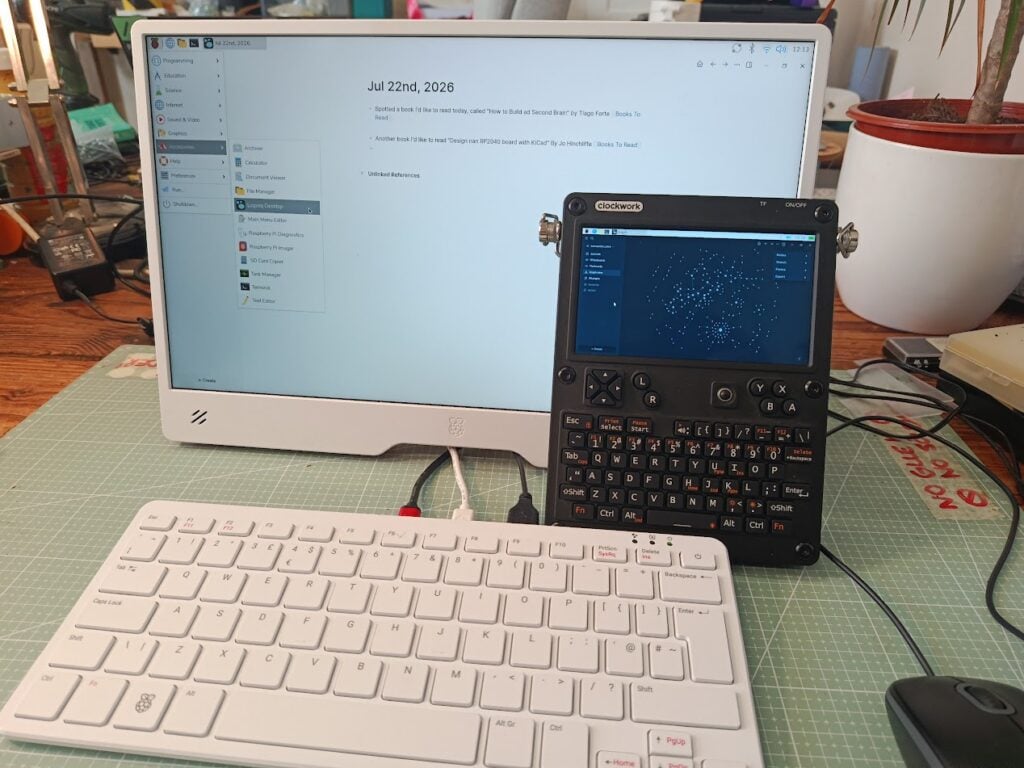
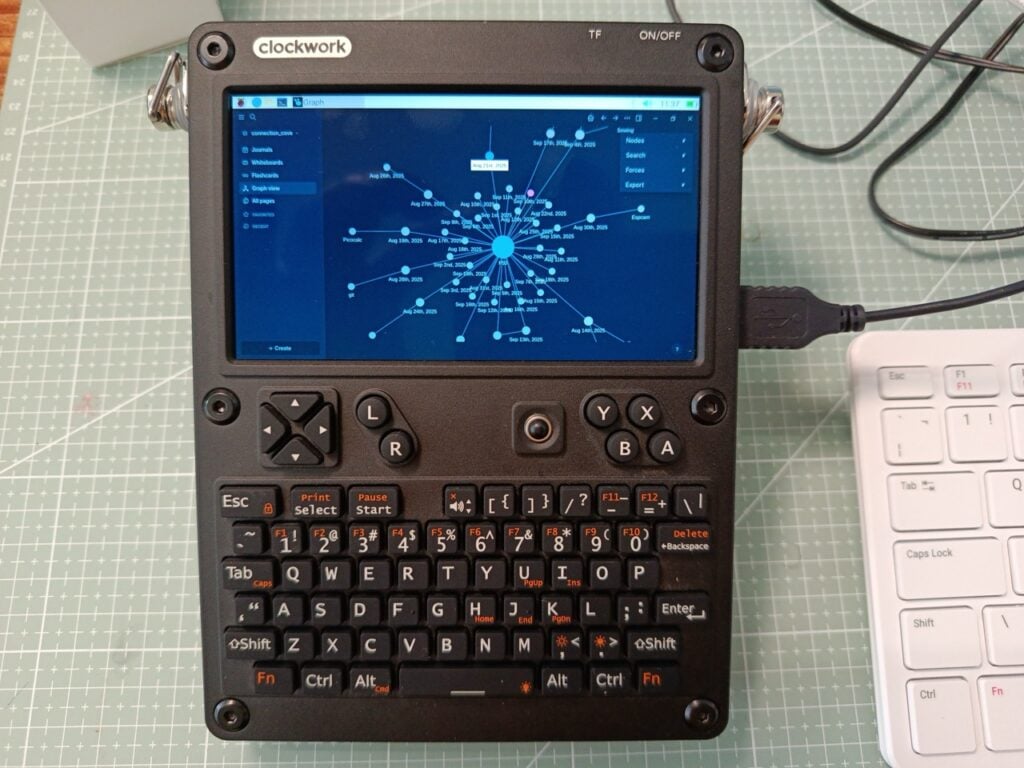
By pairing these platforms with versatile Raspberry Pi hardware—ranging from the desktop-friendly Raspberry Pi 500 and compact Raspberry Pi Zero to portable form-factors like the Uconsole—makers can build a synchronized, highly secure personal archive that they truly own and control.
Chronology: Setting Up Your Raspberry Pi Knowledge Base
Constructing a self-hosted PKM system requires a methodical, step-by-step approach. Below is the chronological breakdown of how to install Logseq, link your devices with Syncthing, and safeguard your data against accidental loss.
Phase 1: Installing Logseq via Snap
Because Logseq’s current Linux builds are distributed via Snap, the initial setup requires installing the Snap package manager on a fresh Raspberry Pi OS installation. Open your terminal and execute the following commands:
$ sudo apt update
$ sudo apt install snapd
$ sudo reboot
After your Raspberry Pi reboots, open the terminal once more to initialize the core snap service and install Logseq:
$ sudo snap install snapd
$ sudo snap install logseq --channel=og
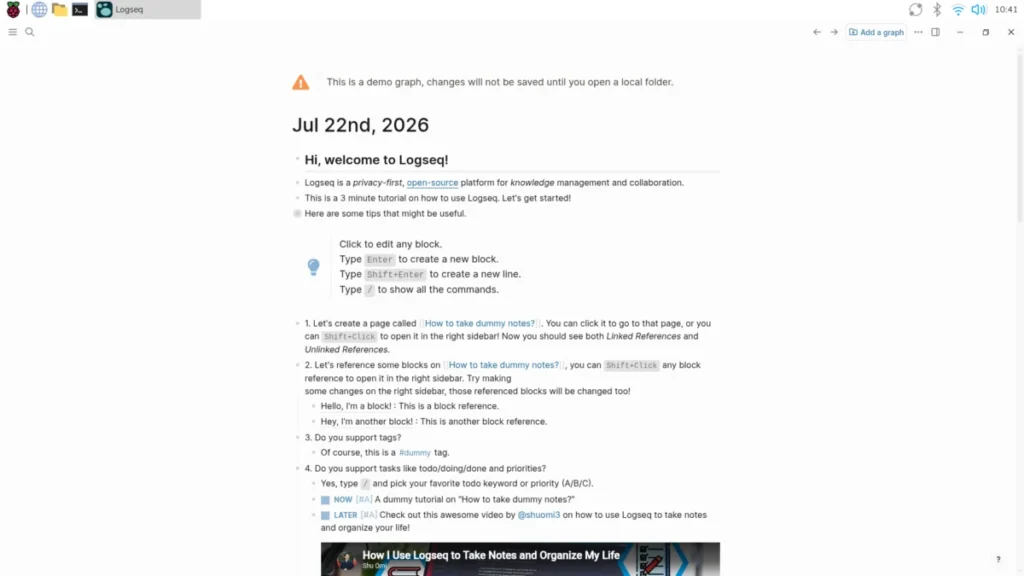
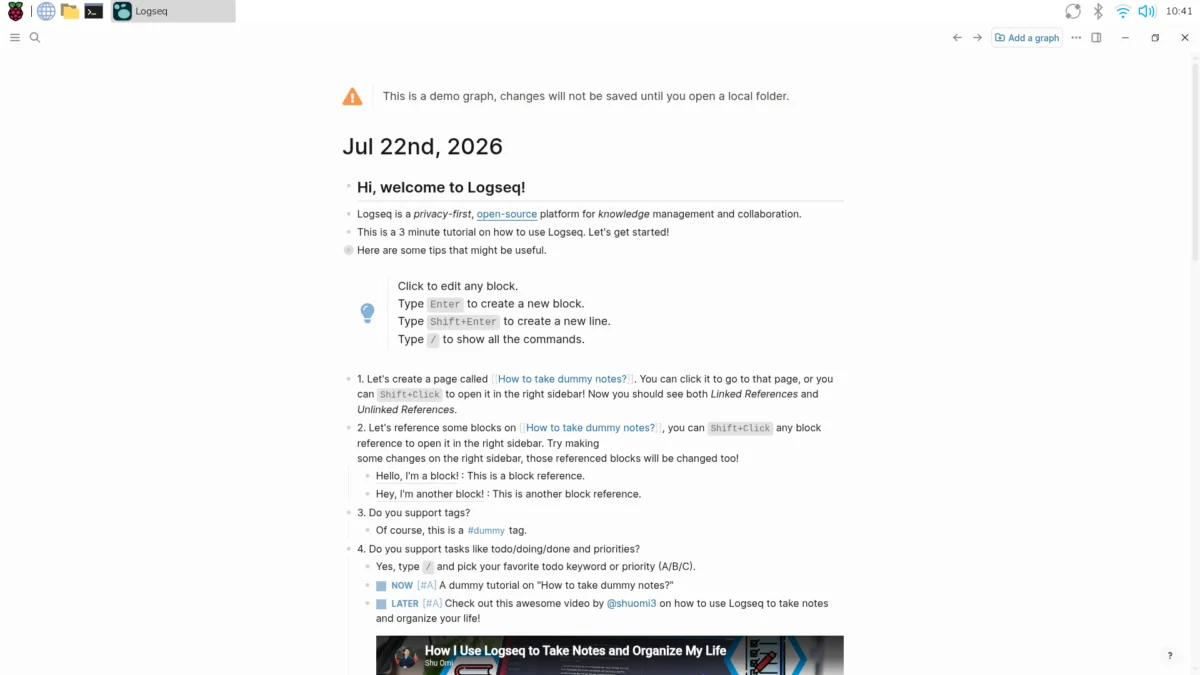
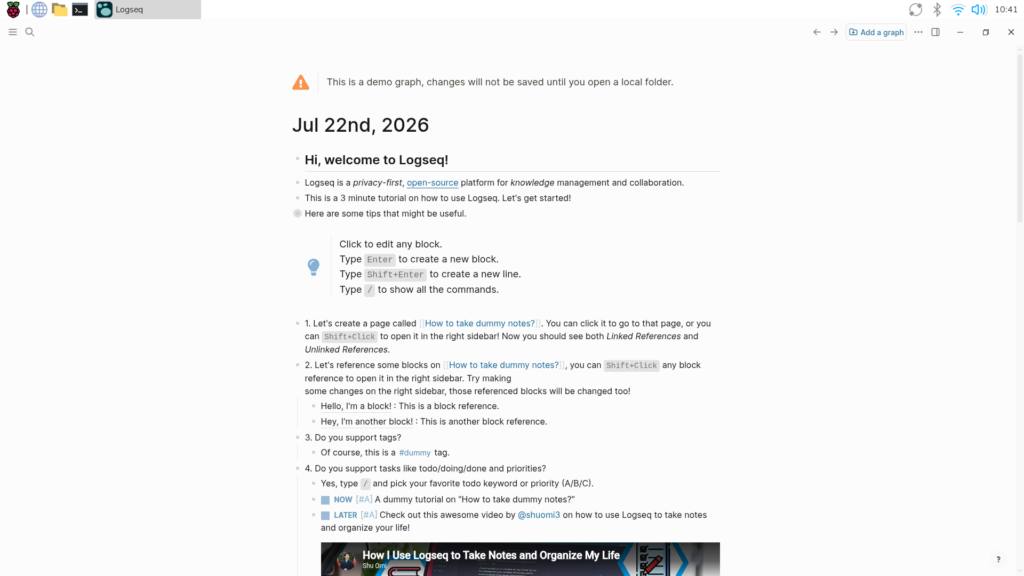
Once installed, navigate to your desktop applications menu under Accessories > Logseq Desktop to launch the program. Upon opening, Logseq presents an interactive demo journal page designed to familiarize new users with its fundamental capabilities.
Phase 2: Crafting Your First Graph
Within Logseq, collections of notes and media are organized into "graphs."
- Scroll down the initial demo page until you find the prompt to designate a storage folder.
- Create a dedicated directory (for example, named
2nd_Brainin your home directory) rather than using an existing folder. - Logseq will automatically convert all inputs into standard Markdown files and store any attached media (such as PDFs, images, and audio clips) in a localized subfolder. This architecture ensures that your data remains portable; you can manually copy this directory to any other machine running Logseq at any time.
Phase 3: Capturing and Tagging Information
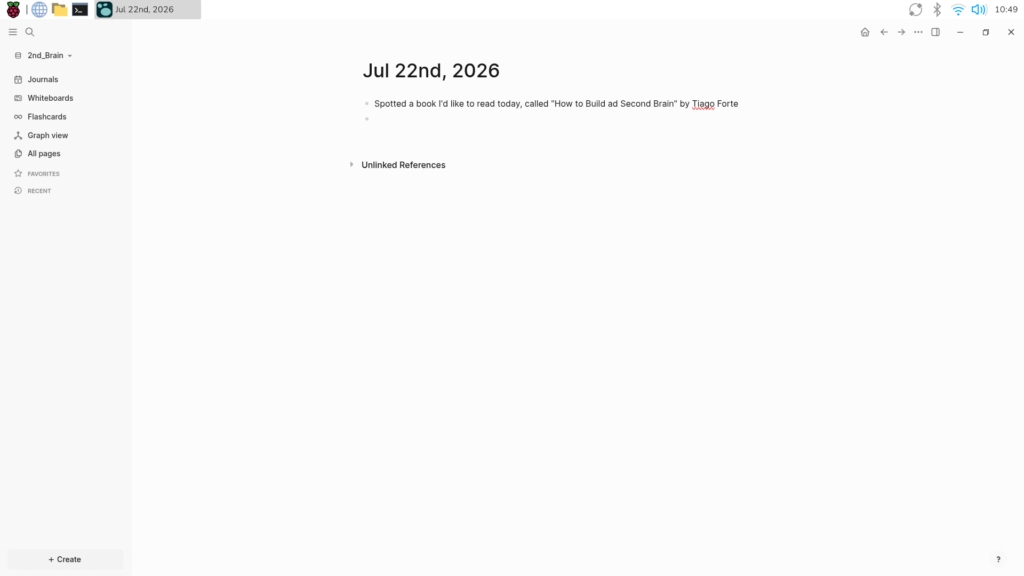
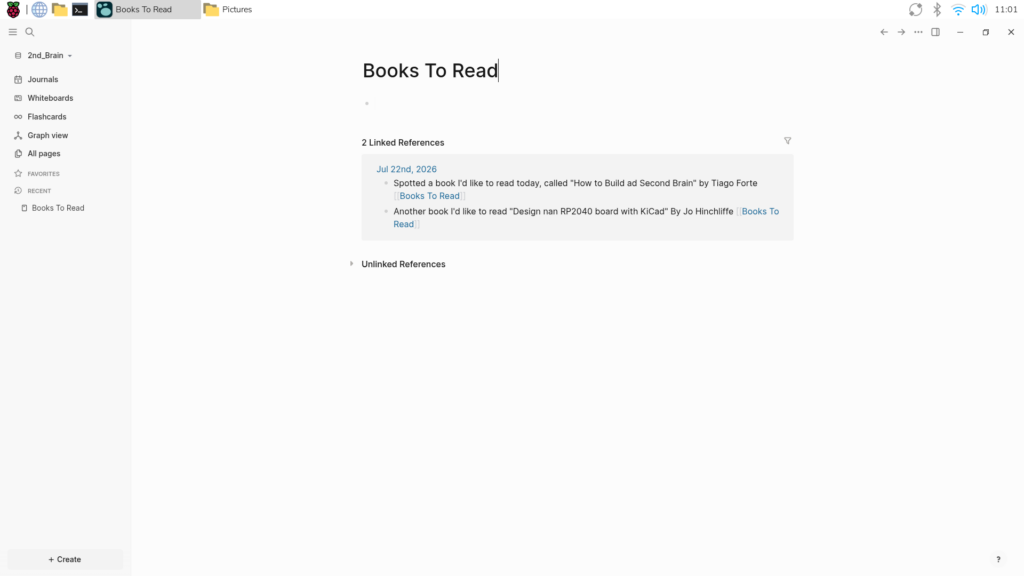
Logseq automatically generates a fresh journal page for every calendar day. To capture a note, simply type directly onto the daily page—for instance, noting a book recommendation: "Spotted a book I’d like to read today, called ‘How to Build a Second Brain’ by Tiago Forte."
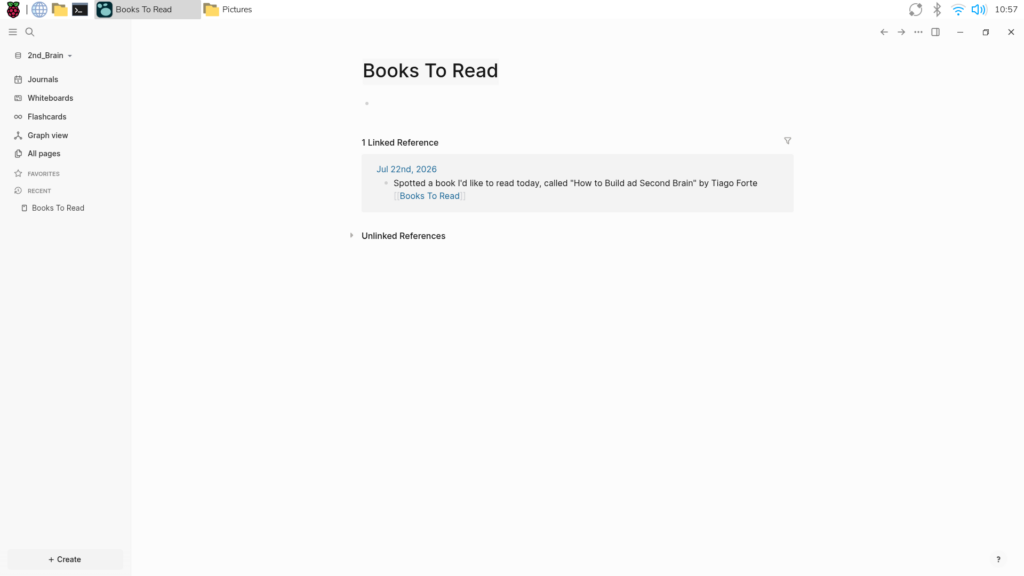
To avoid losing this note in a sea of future entries, utilize Logseq’s signature feature: Tagging. By wrapping terms in double square brackets (e.g., [[Books To Read]]), Logseq instantly transforms the tag into a clickable hyperlink that generates a dedicated page for that topic. Every subsequent entry tagged with [[Books To Read]] will automatically populate on that centralized page, allowing you to build dynamic cross-references across your entire database. Furthermore, you can append diverse assets to your notes by typing /Upload an asset into the editor.
Phase 4: Peer-to-Peer Synchronization with Syncthing
To ensure your second brain is accessible across multiple devices, you can synchronize your graph folder using Syncthing. On your Raspberry Pi, prepare your system and install Syncthing via the command line:
$ sudo apt update
$ sudo apt upgrade
$ sudo apt install apt-transport-https

# Add Syncthing GPG keys and repository
$ curl -s https://syncthing.net/release-key.txt | gpg --dearmor | sudo tee /usr/share/keyrings/syncthing-archive-keyring.gpg >/dev/null
$ echo "deb [signed-by=/usr/share/keyrings/syncthing-archive-keyring.gpg] https://apt.syncthing.net/ syncthing stable" | sudo tee /etc/apt/sources.list.d/syncthing.list

$ sudo apt update
$ sudo apt install syncthing
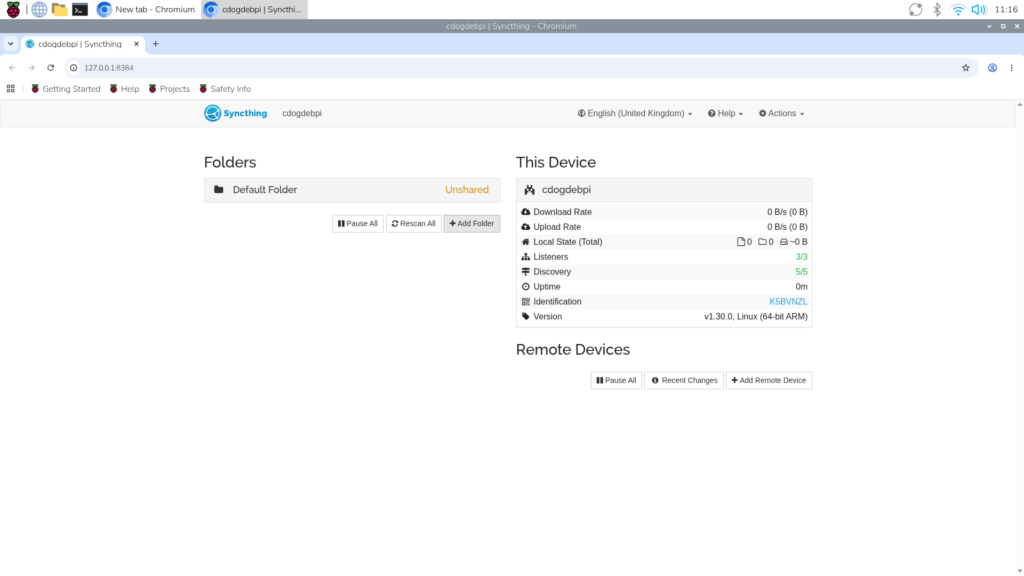
Launch Start Syncthing from your application menu, followed by Syncthing Web UI. In the web admin console:
- Click Add Folder, assign it a label like
second_brain_directory, and point the Folder Path to your local Logseq directory (e.g.,~/2nd_Brain). - On your secondary device (such as a Uconsole or Pi Zero), open the Syncthing Web UI, click your device ID to reveal its unique QR code and long-form identification string.
- On your primary Raspberry Pi, click Add Remote Device, input the unique device ID, and authorize folder sharing under the folder’s sharing settings tab.
Once connected, open Logseq on your secondary device and select "Add Graph" to point it toward the newly synchronized directory.
Supporting Data: Ensuring Data Resilience and Backup
A critical distinction must be made between synchronization and backup. Syncthing ensures that files match across multiple devices in real-time; however, if you accidentally delete a note on one device, that deletion will instantly propagate across your entire network.
To mitigate this risk, makers should implement an automated backup routine using a simple Bash script paired with Linux’s cron utility.
Writing the Backup Script
Open a terminal nano editor:
$ sudo nano backup_script.shInsert the following script, replacing the directory paths with your specific system locations:
#!/bin/sh
rsync -avh /home/pi/2nd_Brain /home/pi/backup_2nd_brain
Make the script executable:
$ sudo chmod +x backup_script.shAutomating via Crontab
To run this backup automatically without manual intervention, open the cron editor:
$ crontab -eAdd a scheduled task at the bottom of the file. For example, to back up your second brain every day at 10:30 AM, insert:
30 10 * * * /home/pi/backup_script.shFor optimal reliability, this script can be deployed to a headless, always-on device in your workspace—such as a dedicated Raspberry Pi Zero W—ensuring your archives remain safe, secure, and consistently preserved.
Official Responses and Community Reception
The intersection of modular computing and privacy-first productivity has resonated strongly within the maker community. Editors at the Raspberry Pi Official Magazine note that projects bridging physical computing with digital self-improvement address a growing consumer fatigue surrounding corporate cloud platforms.
Feedback from early adopters highlights the unique versatility of running PKM systems on ARM-based hardware. While enterprise users often rely on resource-heavy desktop workstations, the ability to pack a complete, encrypted, and fully searchable knowledge base onto a portable device like the Uconsole or Raspberry Pi 500 represents a major milestone in personal data sovereignty.
Implications: The Future of Sovereign Personal Computing
The implementation of a self-hosted PKM system on a Raspberry Pi carries profound implications for digital privacy, education, and modern workflow management:
- Digital Autonomy: By migrating away from proprietary cloud services, users reclaim absolute ownership over their intellectual output, safeguarding sensitive journals, research, and business data from corporate data harvesting.
- Hardware Democratization: Proving that advanced productivity systems can run smoothly on affordable, low-power single-board computers democratizes access to high-level organizational tools for students, researchers, and hobbyists alike.
- Resilient Workflows: Combining instant peer-to-peer syncing with automated cron-based backups establishes a gold standard for personal data resilience—proving that robust digital hygiene does not require expensive enterprise software subscriptions.
As digital literacy grows, projects like this point toward an encouraging horizon: one where users are empowered to build, manage, and protect their own digital ecosystems entirely on their own terms.