The Cyberdeck Renaissance: How the Maker Community Is Resurrecting Off-Grid Computing
By Tech & Hardware Desk
For the better part of the past year, a nostalgic yet intensely modern ghost has been haunting workshops, makerspaces, and digital forums across the globe. The cyberdeck—a staple of 1980s cyberpunk literature popularized by authors like William Gibson—has made a resounding real-world comeback. Far from being mere aesthetic props, these custom-built, ruggedized, and highly specialized machines are once again dominating the maker community.
To celebrate this engineering resurgence, this week’s Maker Monday breaks down the philosophy, architecture, and step-by-step assembly of a modern, Raspberry Pi-powered cyberdeck built to conquer an off-grid existence.
Main Facts: What Is a Cyberdeck and Why Build One?
At its core, a cyberdeck is a bespoke computing device engineered to solve specific operational constraints that conventional laptops, tablets, and desktop computers simply cannot address. It is a chameleon of hardware design: it can function as a pocket computer, a wearable field terminal, a command-and-control monitor for high-altitude weather balloons or rocketry, or an isolated, offline knowledge vault designed for a hypothetical zombie apocalypse.
The primary driver behind the cyberdeck movement is personal utility fused with unbridled creativity. Unlike commercial off-the-shelf devices constrained by corporate design philosophies, planned obsolescence, and restrictive software ecosystems, a cyberdeck belongs entirely to its creator.
The anatomy of any successful cyberdeck relies on four foundational pillars:
- The Brains: The processing unit, system-on-chip, and long-term storage architecture.
- The Peripherals: The human-machine interface elements, including displays, keyboards, audio systems, and input controllers.
- The Power Supply: The energy delivery system, ranging from simple power banks to complex, off-grid battery management systems (BMS).
- The Case: The physical housing that defines the device’s aesthetic, durability, and operational environment.
Chronology: From Sci-Fi Dream to Maker Reality
The concept of the cyberdeck traces its lineage to the speculative fiction of the early 1980s, where cyberpunks plugged directly into global datasorces using makeshift, modified hardware decks. For decades, these machines lived purely in the realm of art books, cosplay, and literature.
However, a confluence of modern technological advancements has transitioned cyberdecks from science fiction into practical engineering:
- The Rise of Single-Board Computers (SBCs): The democratization of powerful, low-wattage computing platforms—most notably the Raspberry Pi ecosystem—provided the raw processing power previously locked inside bulky desktop towers.
- Prototyping Accessibility: The proliferation of affordable 3D printing, laser cutting, and open-source CAD software transformed custom enclosure design from an industrial hurdle into a weekend garage project.
- Component Miniaturization: High-resolution touchscreens, compact mechanical keyboards, and efficient Class-D amplifiers made it feasible to pack full desktop capabilities into ruggedized, briefcase-sized enclosures.
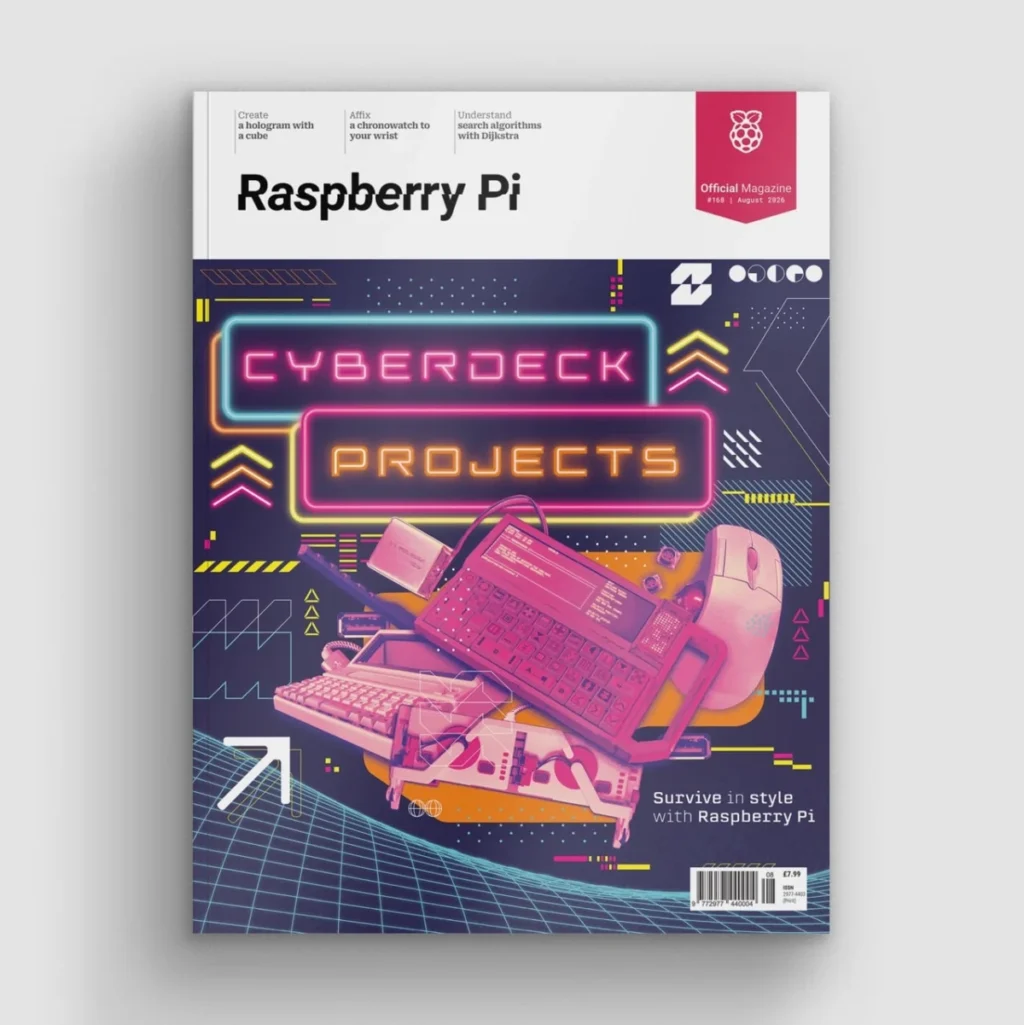
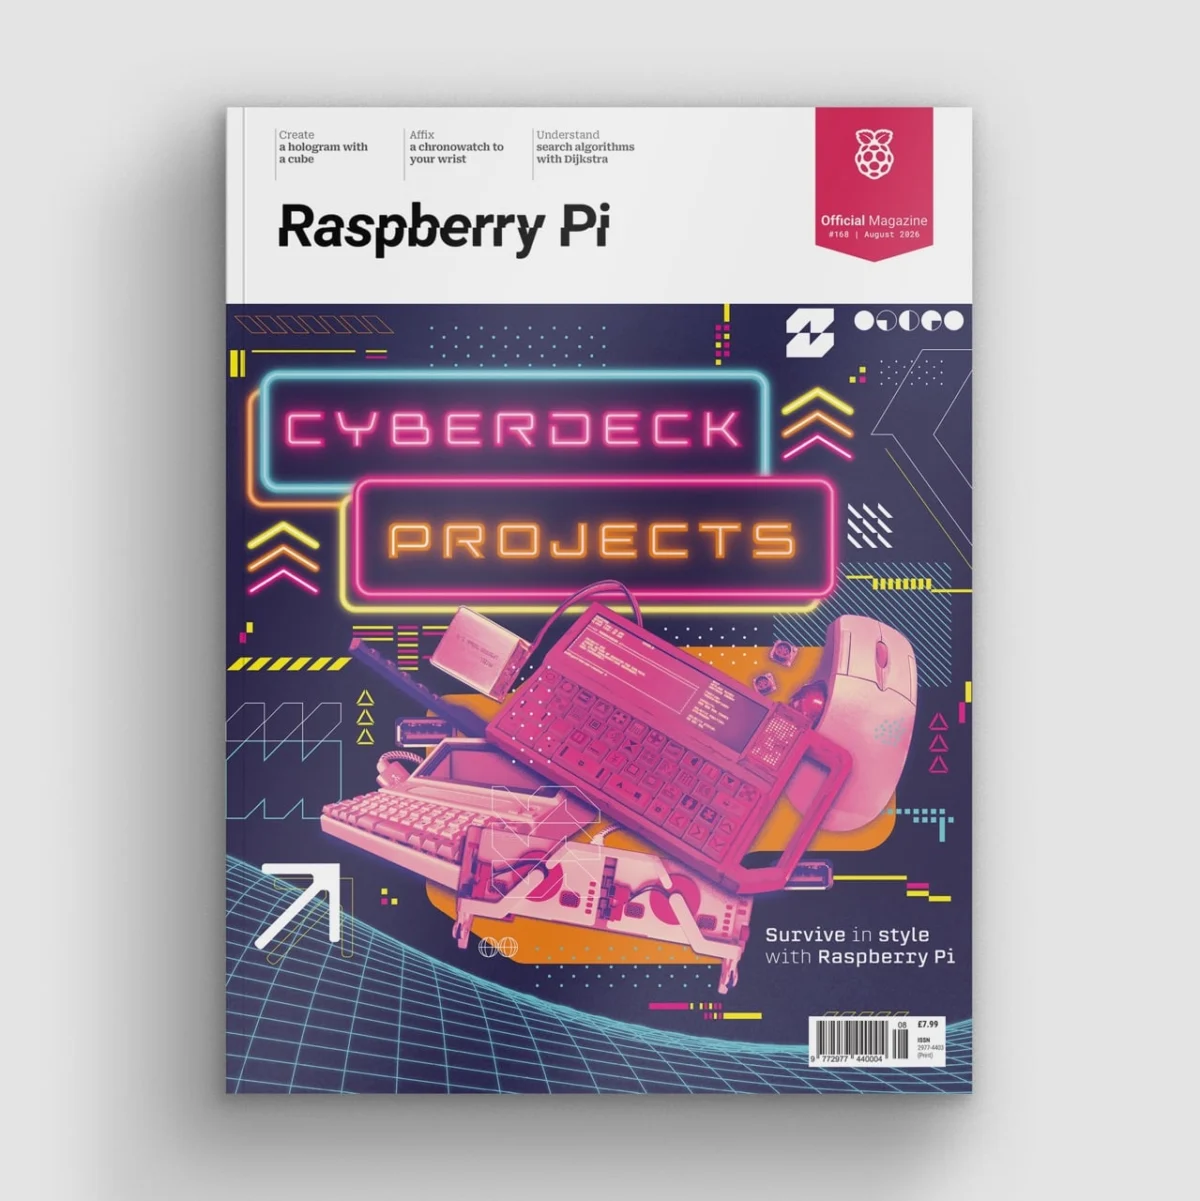
This iterative evolution recently culminated in landmark community showcases, including Raspberry Pi Official Magazine’s dedicated Cyberdeck Special Issue (#168), which highlighted the sheer breadth of community ingenuity and inspired a fresh wave of builders to pick up their soldering irons.
Supporting Data: Anatomy of a Modern Off-Grid Build
To demystify the construction process, veteran makers have standardized a reliable, off-the-shelf parts list centering around the Raspberry Pi 5. Below is an analytical breakdown of the hardware specifications required to build a fully functional, weatherproof field cyberdeck:
1. The Brains: Raspberry Pi 5 & Storage
- Central Processing Unit: The Raspberry Pi 5 serves as the ideal computational engine, offering a balance of low thermal output, robust daily processing power, and accessible General Purpose Input/Output (GPIO) pins for hardware hacking.
- Storage Medium: Eschewing traditional microSD cards in favor of a 128GB Raspberry Pi Flash Drive. These drives offer vastly superior read/write speeds, greater physical durability against loss, and effortless swapability—allowing users to seamlessly transition between different operating systems, such as dedicated media centers or retro-gaming platforms.
2. Peripherals & Human Interface
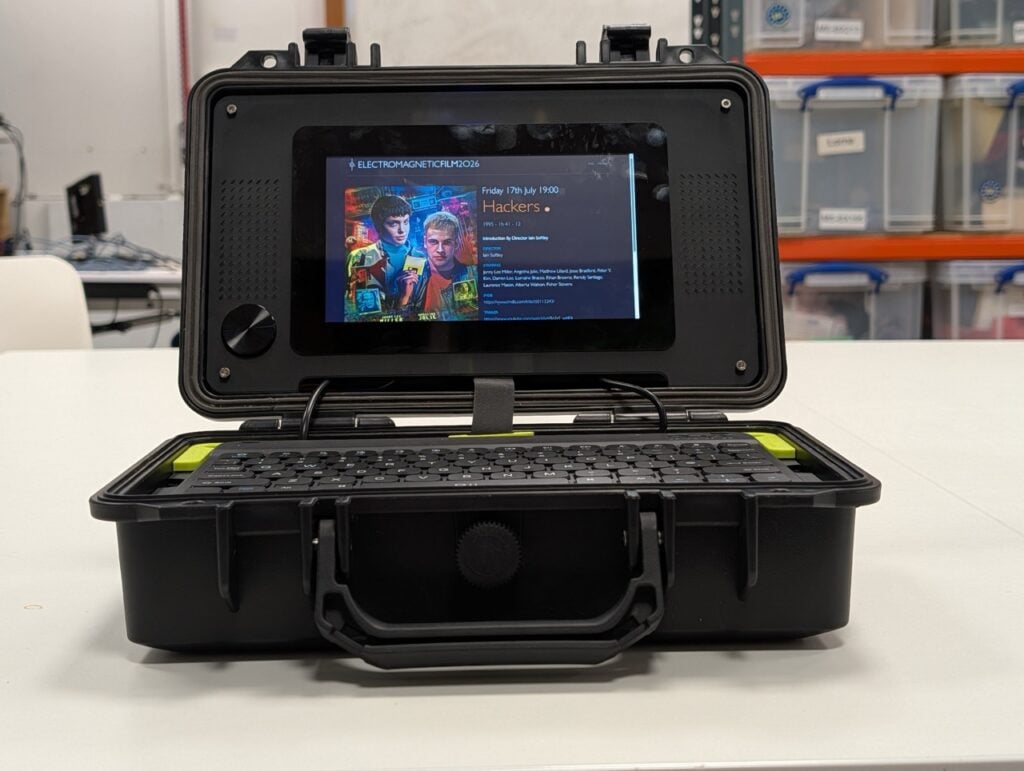
- Display: A 7-inch Raspberry Pi Touch Display 2, featuring a crisp landscape resolution of 1280 × 720 pixels. The integrated capacitive touchscreen significantly reduces reliance on an external mouse, saving precious physical space inside the enclosure.
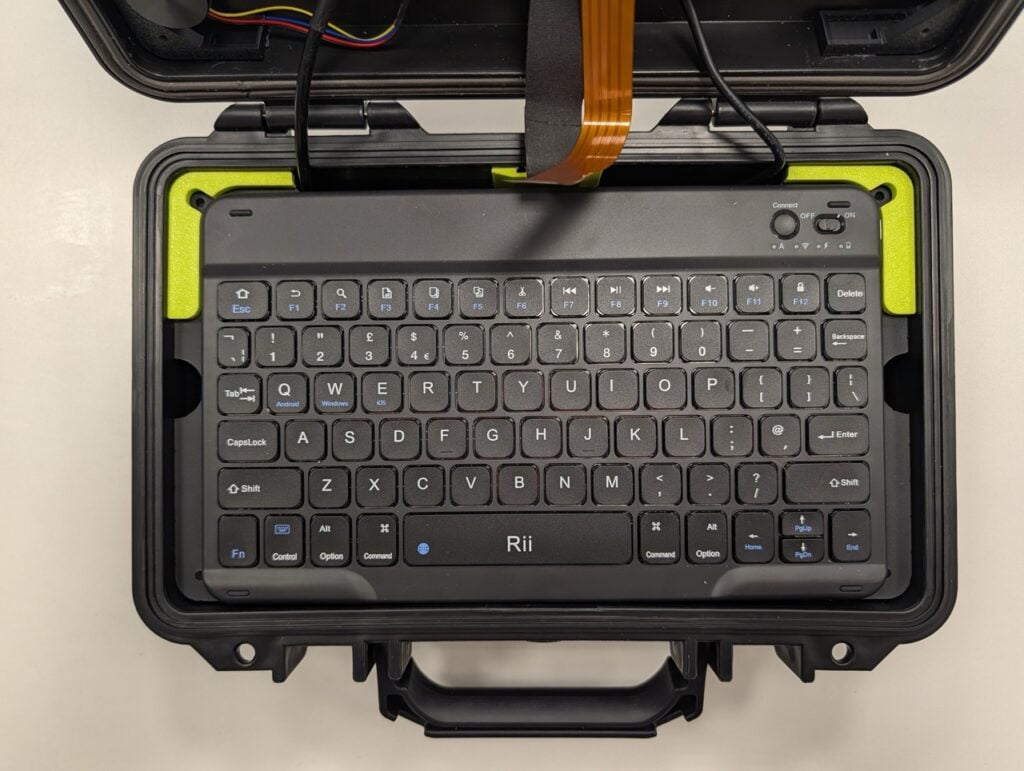
- Input Device: The Rii RK302 Bluetooth Keyboard. Selected for its ultra-low profile, it fits neatly inside compact enclosures. While its flexible structural chassis requires custom internal mounting supports, its wireless connectivity eliminates cable clutter.
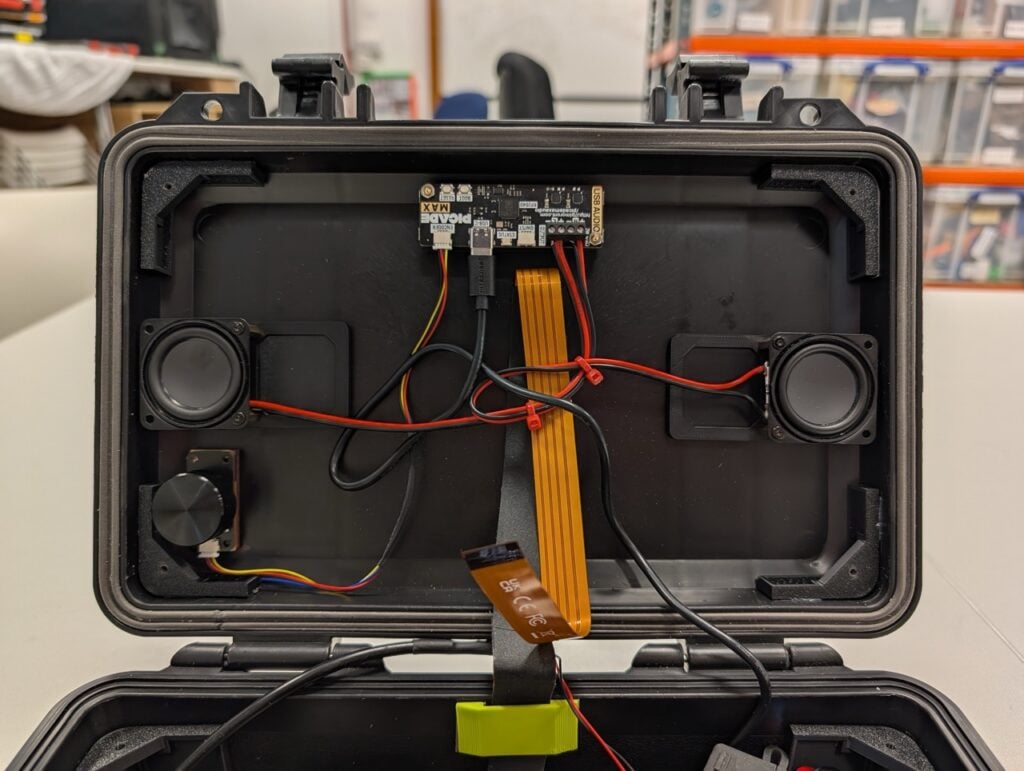
- Audio Architecture: The Pimoroni Picade Max USB Audio card, equipped with a 3W stereo amplifier. This single-board solution connects via a single USB-C cable, successfully keeping the Raspberry Pi’s 40-pin GPIO header completely free for custom HATs and external expansion boards. Volume control is managed via an accompanying Picade Max Encoder.
3. Power Systems & Mathematical Load Calculations
Power management is perhaps the most critical calculation in any off-grid build. A failure to properly budget electrical current can result in system instability or hardware damage.
To determine the minimum required power supply size, builders must aggregate the maximum draw of every individual component using the foundational electrical formula:
$$textCurrent (Amps, Itext) = fractextPower (Watts, Ptext)textVoltage (Volts, Vtext)$$
- Raspberry Pi 5: Demands up to 25W (5V at 5A) under heavy multi-device USB peripheral loads.
- Raspberry Pi Touch Display 2: Pulls approximately 3W at peak backlight brightness.
Total Minimum Power Calculation:
$$textTotal Power = 25textW + 3textW = 28textW$$
$$textRequired Current at 5V = frac28textW5textV = 5.6textA$$
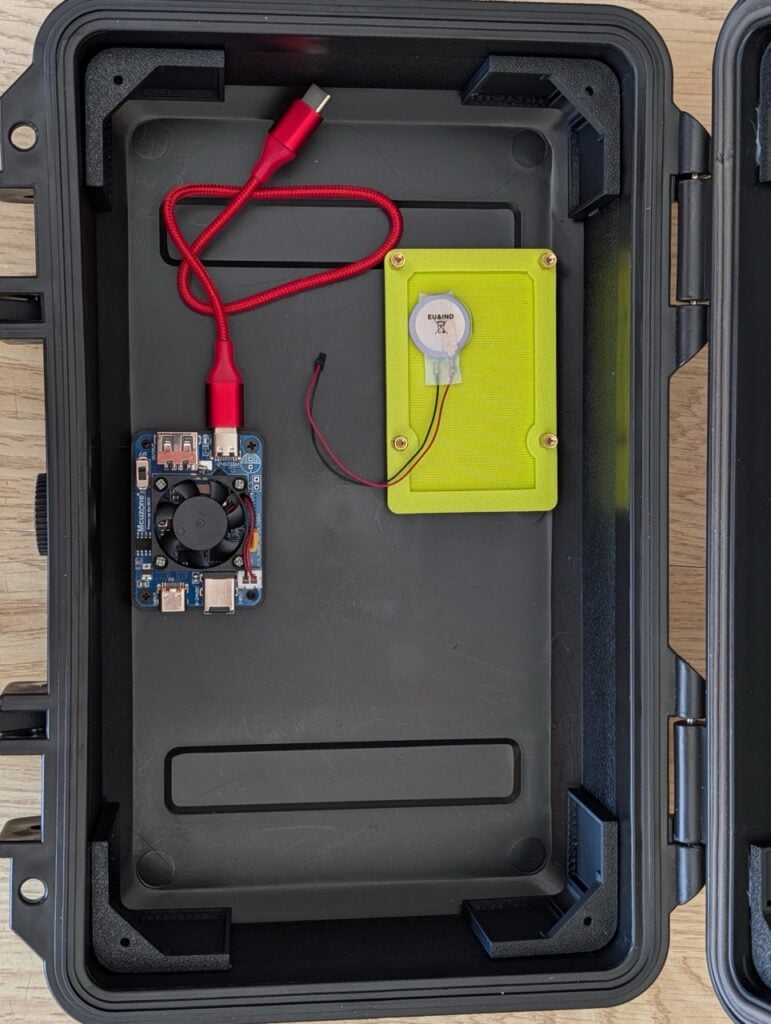
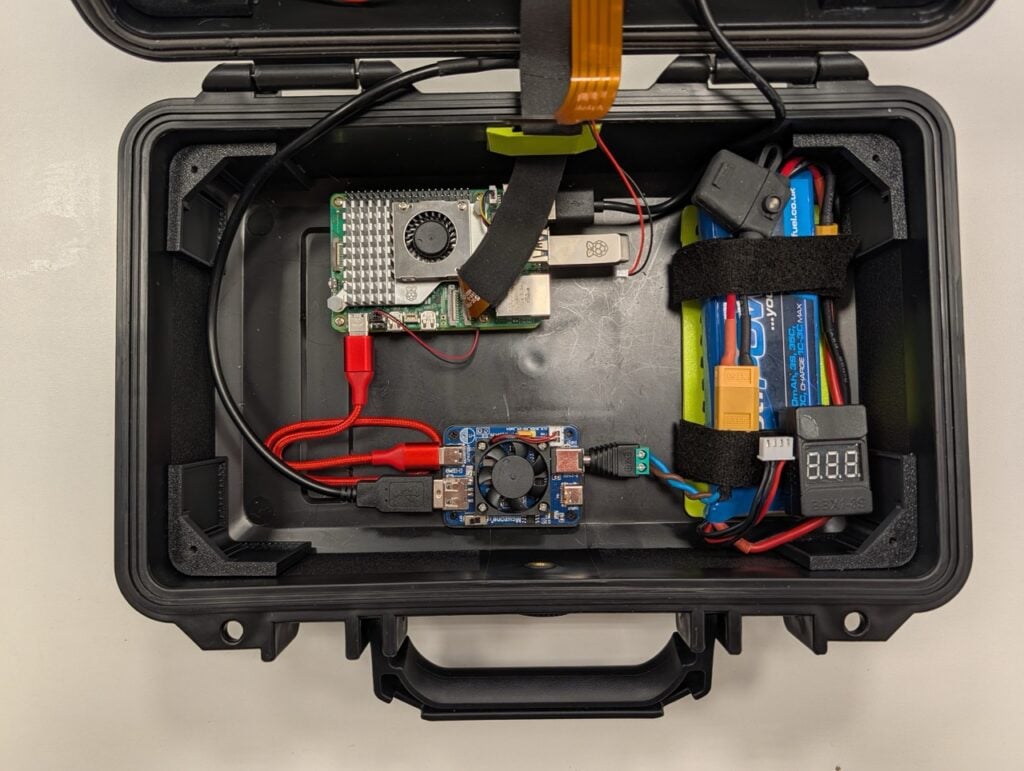
While standard power banks offer a plug-and-play alternative, advanced off-grid builds frequently utilize Lithium-Polymer (LiPo) battery setups paired with an inline fuse, a DC-to-DC converter board, and strict cell-voltage monitoring. For safety and simplicity during testing, these builds often keep the battery disconnected while charging via an external mains charger.
4. Enclosure & Construction
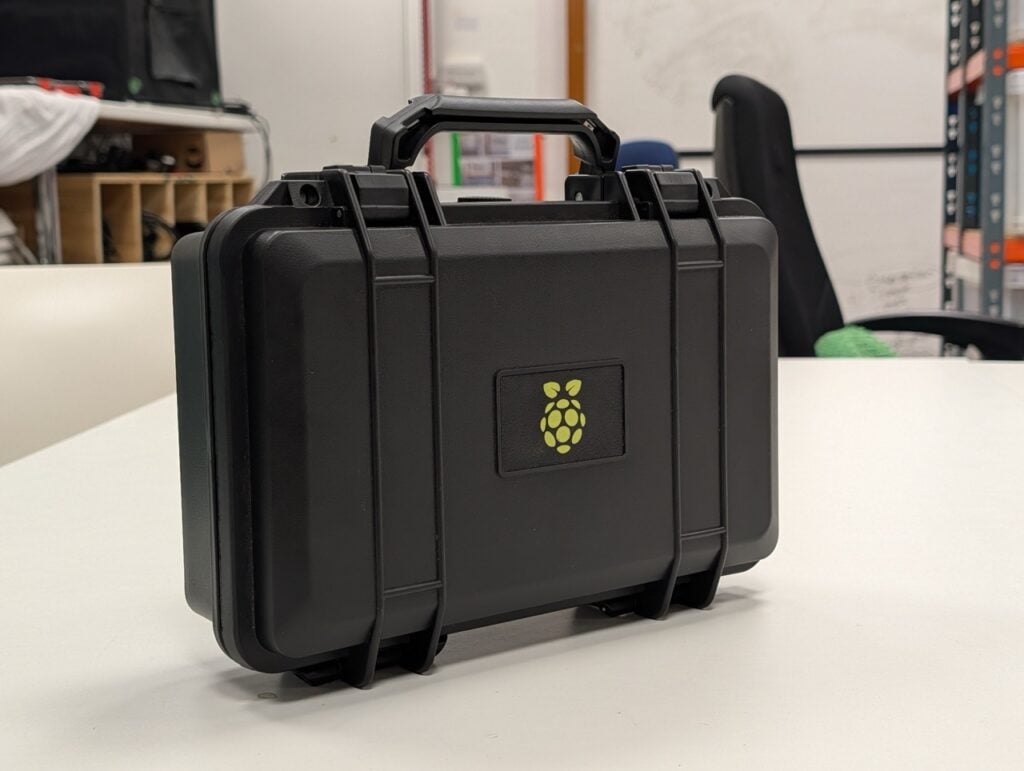
- The Case: A CASOMAN 11.5-inch waterproof hard case (mirroring the industry-standard Pelican form factor). These cases provide robust, weatherproof, shock-resistant protection equipped with an integrated carry handle.
- Internal Chassis: Built using traditional prototyping methods. Initial space planning begins with "CAD" (Cardboard-Aided Design) to map out cable routing. Final structural supports are designed using software like SOLIDWORKS, Fusion360, or FreeCAD, and subsequently brought to life via 3D printing, laser cutting, or lightweight aluminum extrusion profiles.
Official Responses and Community Perspectives
The resurgence of the cyberdeck has caught the attention of open-source hardware manufacturers and educational institutions alike. Industry advocates emphasize that the movement represents a vital counterweight to modern consumer electronics, which are increasingly sealed, proprietary, and hostile to user repair.
"What we are seeing is a reclamation of digital literacy," notes the editorial team behind Raspberry Pi Official Magazine. "When you build your own cyberdeck, you aren’t just consuming technology; you are understanding every single component—from how the display draws current to how the operating system boots from a flash drive. It teaches systemic problem-solving in a way no consumer laptop ever could."
Hardware designers also point to the psychological appeal of tactile computing. In an era dominated by sleek, minimalist glass slabs, the rugged, utilitarian aesthetic of a physical case packed with custom switches, exposed I/O pins, and glowing LEDs taps into a deep-seated desire for personalized, tangible tools.
Step-by-Step Construction Methodology
Building a cyberdeck is an exercise in meticulous spatial engineering. Experienced builders recommend following a disciplined workflow:
- Bench Testing: Flash your chosen operating system to your storage drive using the Raspberry Pi Imager. Connect all components on a workbench to verify software stability, display functionality, and audio routing before installation.
- Prototyping the Layout: Utilize cardboard templates to map out the exact placement of the Raspberry Pi, display, speakers, and battery within the Pelican-style case. Pay close attention to cable bend radiuses and clearance requirements.
- Fabricating Supports: Translate your physical prototypes into precise digital 3D models. Print or laser-cut custom mounting brackets, speaker baffles, and keyboard retention plates. Mini 10mm extruded aluminum profiles can provide exceptional structural rigidity for the internal chassis.
- Lid Assembly: Mount the stereo speakers behind the front acoustic grid. Install the 3D-audio amplifier and secure the 7-inch touchscreen into the top lid panel using double-sided mounting foam or self-tapping screws. Route and secure the display ribbon cable using cloth electrical tape for a clean, professional harness look.
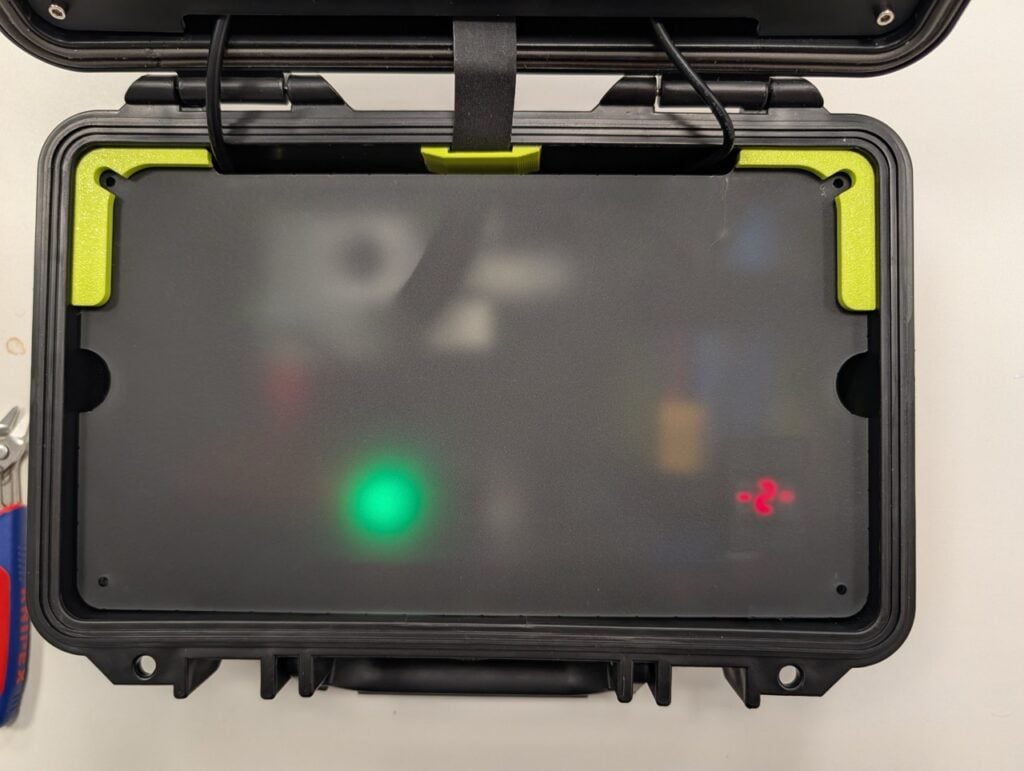
- Base Assembly: Fix the battery holder and Raspberry Pi mounting plate into the lower half of the case. Connect the power management circuitry, ensuring all LiPo safety fuses and DC-DC converters are securely insulated with heat-shrink tubing. Leave the keyboard plate unattached initially to allow easy access for system maintenance and power cycling.
- Customization and Expansion: Once the foundational build is operational, the true creative journey begins. Many makers integrate a secondary microcontroller—such as a Raspberry Pi Pico—to act as an auxiliary co-processor. This secondary chip can monitor internal battery voltages, drive auxiliary OLED status displays, control custom LED indicator arrays, or interface with Software-Defined Radios (SDRs).
Implications: The Future of Maker Engineering
The sustained popularity of cyberdeck building carries profound implications for the broader technology landscape. As global interest in digital sovereignty, right-to-repair legislation, and resilient off-grid communication grows, the skills cultivated within the maker community are becoming increasingly relevant.
By learning how to integrate disparate hardware components, calculate power draws, write configuration files (such as enabling the Raspberry Pi 5 real-time clock via dtparam=rtc_bbat_vchg=3000000), and fabricate custom enclosures, modern hobbyists are insulating themselves against the limitations of commercial hardware ecosystems.
Whether deployed in the field as an emergency communications hub, utilized as an educational sandbox for aspiring engineers, or simply built for the pure, unadulterated joy of creation, the cyberdeck proves that the future of computing doesn’t have to come out of a corporate factory box—sometimes, it’s forged in a garage out of plastic, aluminum, and code.